Because composite resin inherently shrinks as it polymerizes, contraction gaps can form, and as a result composite filling is often regarded in clinical practice as a technique prone to postoperative pain and secondary caries, which is why metal inlay restorations are still common today, particularly in caries treatment in the molar region.
In recent years, however, the physical properties of flowable composite resins themselves and the bond strength of bonding agents to tooth structure have improved remarkably, and I believe that adhesive restorative treatment performed with correct technique can deliver results that surpass indirect metal restorations, though the indications must be carefully assessed.
The new ESTELITE UNIVERSAL FLOW from Tokuyama Dental comes in three different fluidities, and I would like to present my own clinical cases in which a layered filling technique, using each of the three where it performs best within a single cavity, both avoided the functional weaknesses of composite resin and delivered excellent esthetic results by combining composite resins with different levels of light transmission and value in the layers.
Case 1: Filling a Class I Molar Cavity (High, Medium, and Super Low)
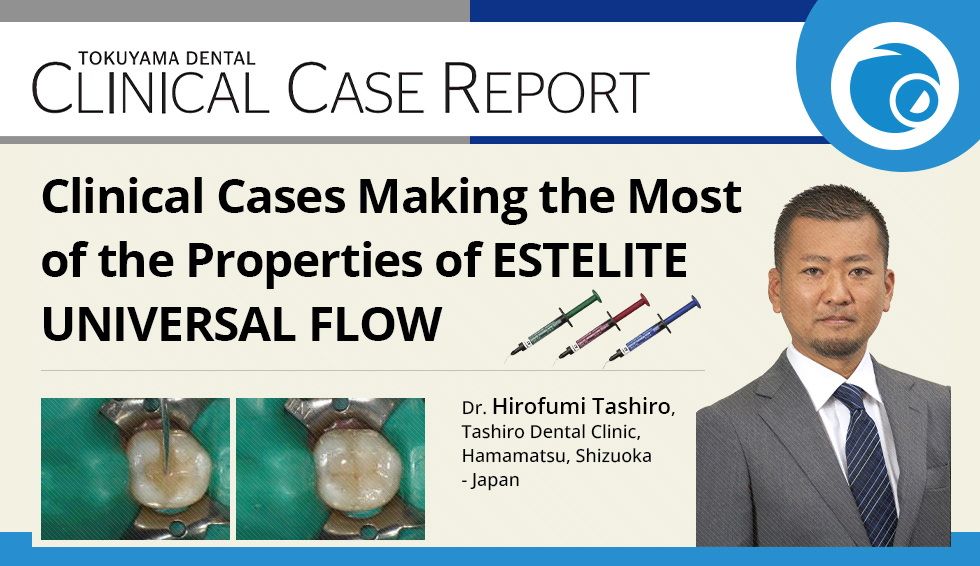
Secondary caries was found on a mandibular first molar that had previously been filled with composite resin, and retreatment was required.
Here I present, step by step, a technique aimed at achieving both esthetics and function, in which the OPA2 shade of High was used for the lining, the A3.5 shade of Medium for the dentin layer, and the A2 shade of Super Low for the enamel layer, layering the filling so as to avoid the contraction gaps that are a negative characteristic of composite resin fillings.
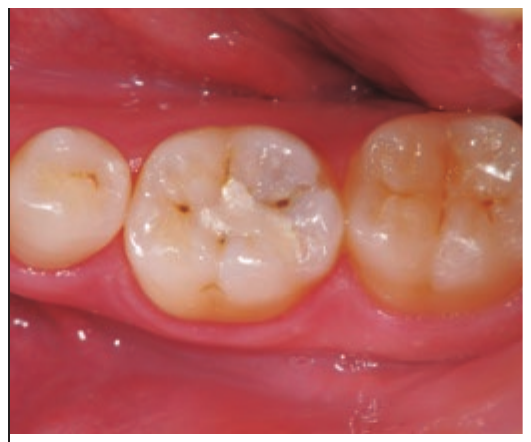
Fig. 1 Preoperative condition
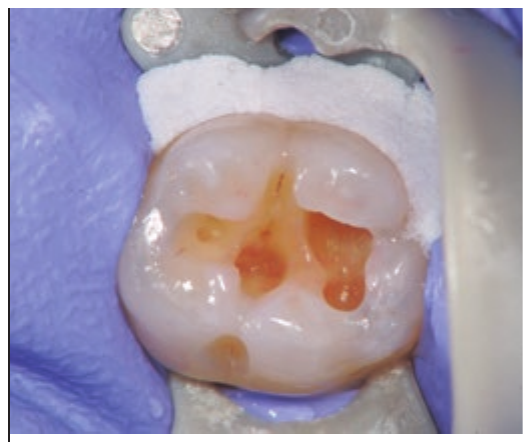
Fig. 2 After rubber dam isolation, the old filling and infected dentin are removed.
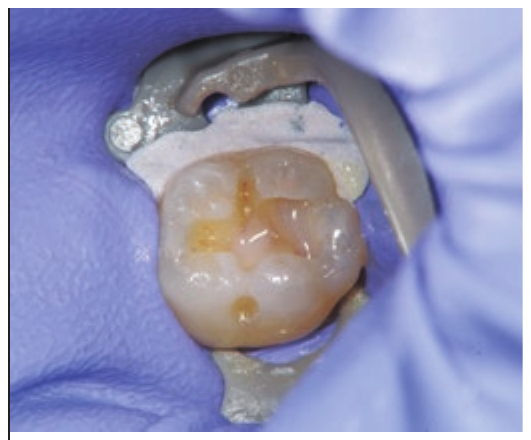
Fig. 3 Lining with High (OPA2) after bonding with Tokuyama Bond Force II.
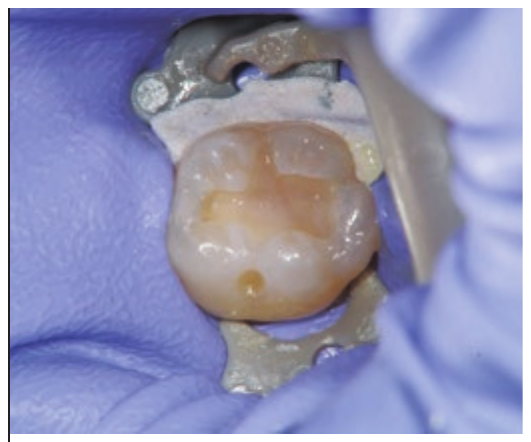
Fig. 4 The dentin layer is filled with Medium (A3.5).
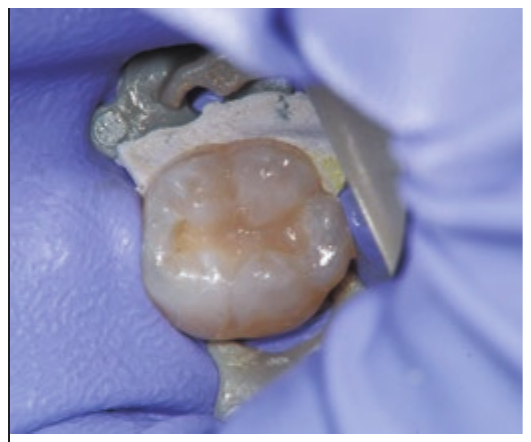
Fig. 5 The cusps are built up with Super Low (A2), working from the fossa toward the ridges.
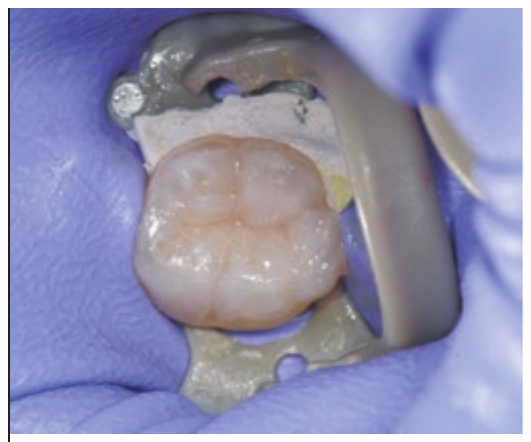
Fig. 6 Occlusal anatomy formed with Super Low (A2).
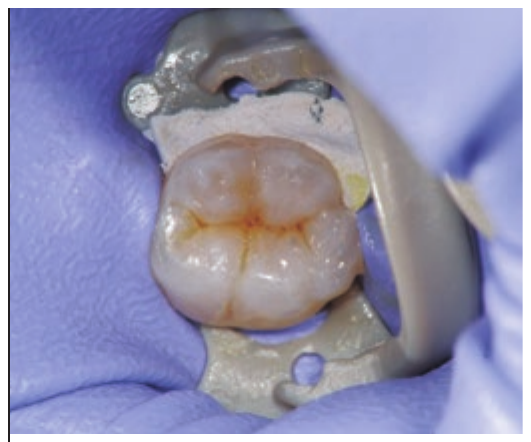
Fig. 7 The pits and fissures are stained using ESTELITE COLOR (DBr).
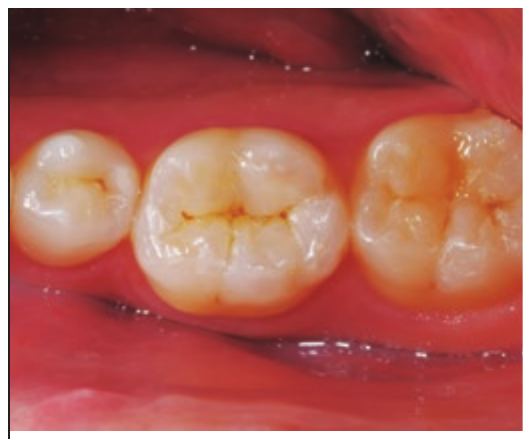
Fig. 8 Postoperative condition (10 days) following occlusal adjustment and polishing.
Case 2: Filling an Anterior Proximal Cavity (High, Medium, and Super Low)
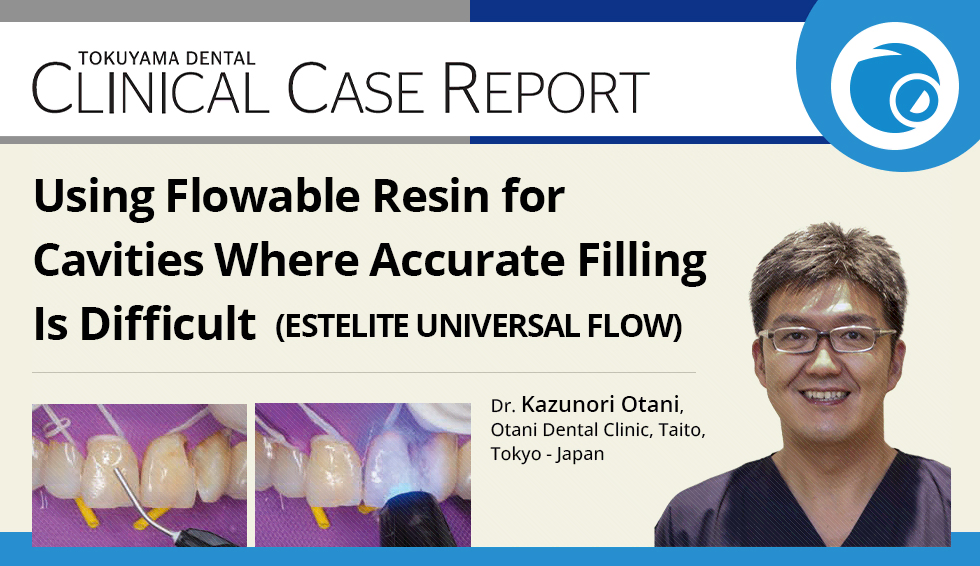
Treatment was planned after caries was found on the distal surface of a maxillary central incisor and a poorly fitting composite resin filling on the mesial surface of the lateral incisor.
Since flossing is essential for the patient’s own self-care and maintenance after treatment, the composite resin filling must fit with a high degree of precision.
In Case 2, I present, step by step, a technique in which a pre-curved matrix was secured over the small cavity with a wedge and flowable resins of different fluidity and light transmission were combined, aiming to achieve both close adaptation to the cavity walls and an esthetic result.
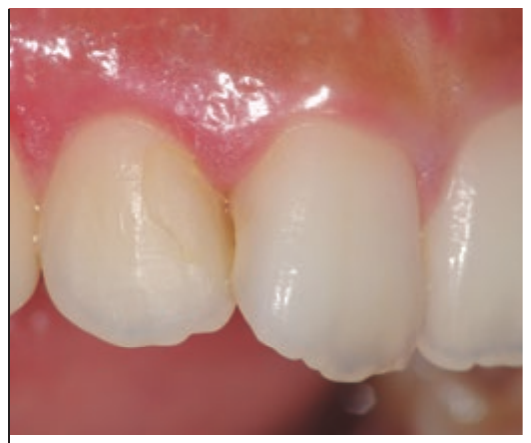
Fig. 1 Preoperative condition
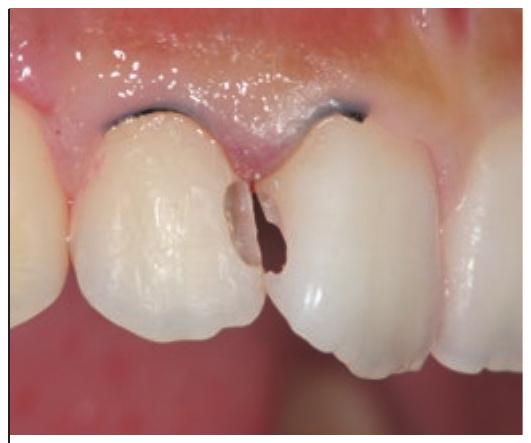
Fig. 2 The old filling and infected tooth structure are removed while preserving as much sound structure as possible.
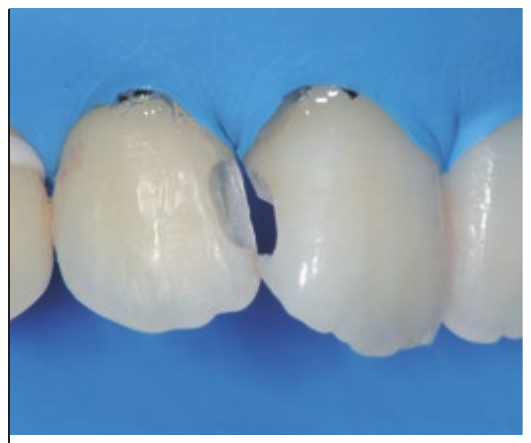
Fig. 3 Rubber dam isolation is performed after cavity preparation.
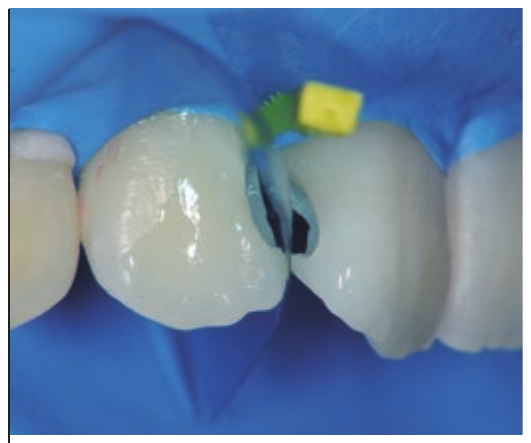
Fig. 4 After bonding with Tokuyama Bond Force II, the matrix is inserted at the proximal surface and secured with a wedge.
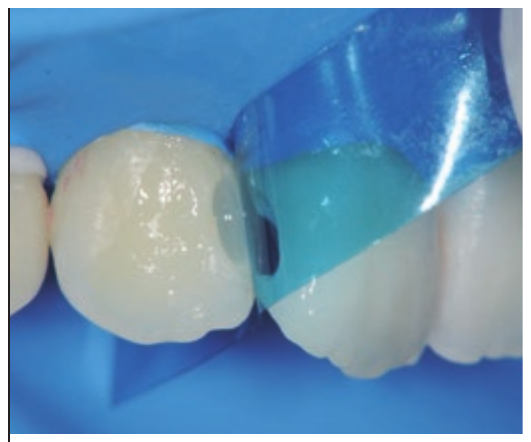
Fig. 5 Lining with High (OPA2) to improve adaptation to the small space formed between the matrix and the tooth structure.
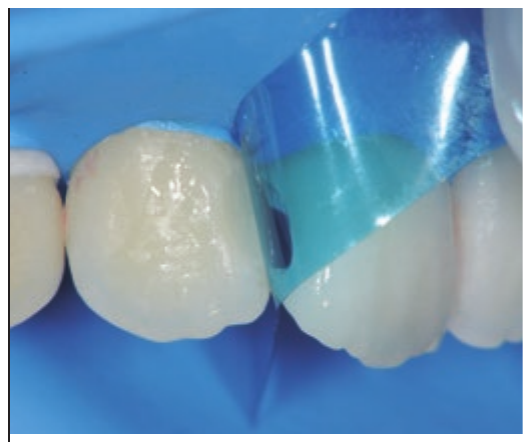
Fig. 6 Medium (OPA2), which does not flow too readily, is used for the middle layer to keep the shade from washing out due to excessive light transmission through the proximal area.
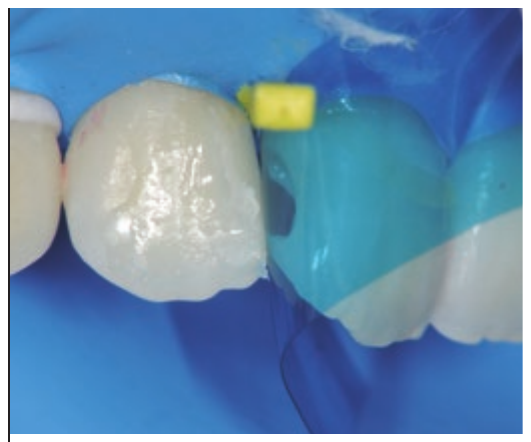
Fig. 7 For the outermost layer, Super Low (A2), which does not slump, is used to build up volume at the mesial marginal ridge. The distal surface of the central incisor is filled following the same steps.
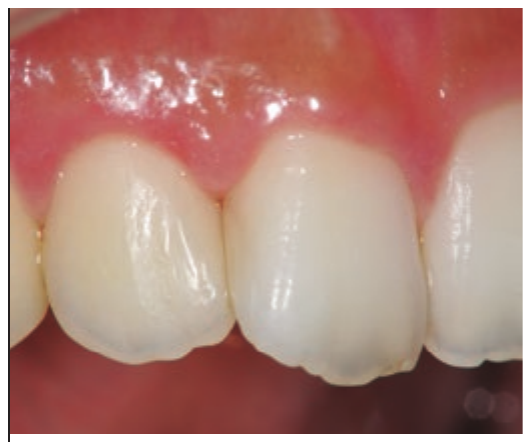
Fig. 8 Postoperative condition (7 days) following contouring and polishing.