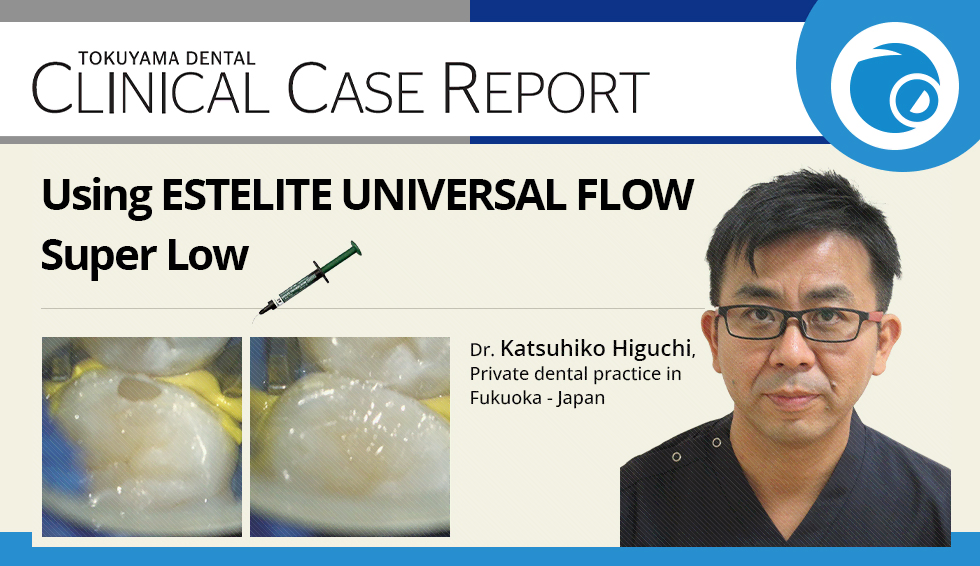
Composite resin comes in two consistencies, paste and flowable, but in my own daily clinical practice I mostly used the paste type, which offers superior mechanical properties and sculptability along with a wide selection of shades. Flowable resin, by contrast, often could not match the tooth shade on its own, tended to string during filling, and came in few fluidity options, so I used it only in such limited situations as Class V cavities, wedge-shaped defects, lining markedly uneven cavity floors, filling small cavities and fine details, and filling areas that are difficult for instruments to reach, with the aim of preventing air bubbles during filling and shortening chair time. However, the newly released ESTELITE UNIVERSAL FLOW offers three different fluidities (Super Low, Medium, and High), making it suitable for a wide range of cavity forms and allowing practitioners to choose the fluidity they prefer. The material also does not string during filling, and its high light diffusion improves shade matching, allowing stress-free use in a wide range of cases in terms of both handling and esthetics. Flowable resin is already used by many dentists, but the release of this product has made it possible to use flowable resin even in cases such as Class IV and Class II cavities, where it was previously difficult to apply.
This article therefore introduces the use of ESTELITE UNIVERSAL FLOW through clinical cases involving the anterior teeth and premolars.
Case 1: Filling a Class II Premolar Cavity (High and Medium)
Before treatment, #44 had a metal inlay. Removing the inlay and caries revealed a mesiodistally narrow proximal cavity, where a paste resin would have been difficult to pack with sufficient pressure and would most likely have left the margins underfilled, so a flowable resin, which can be dispensed through a fine nozzle, was used. With postoperative esthetics in mind, the A2 shade of High was used on the proximal surface to avoid a darkened result, while the shallow occlusal cavity was filled with the CE shade of Medium.
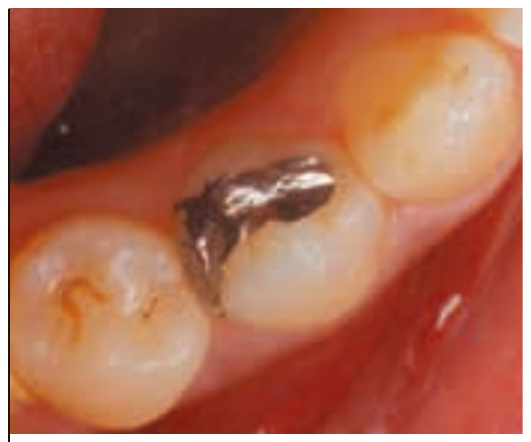
Fig. 1 Preoperative condition.
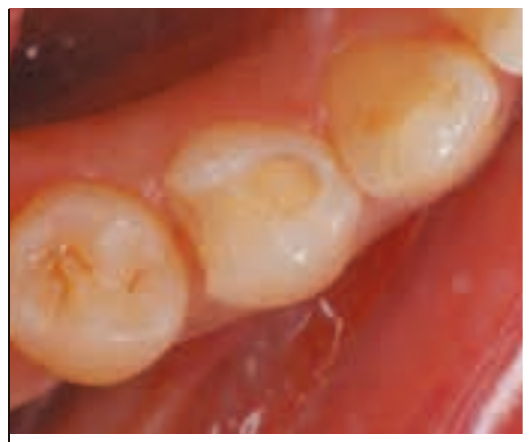
Fig. 2 The metal inlay and caries were removed.
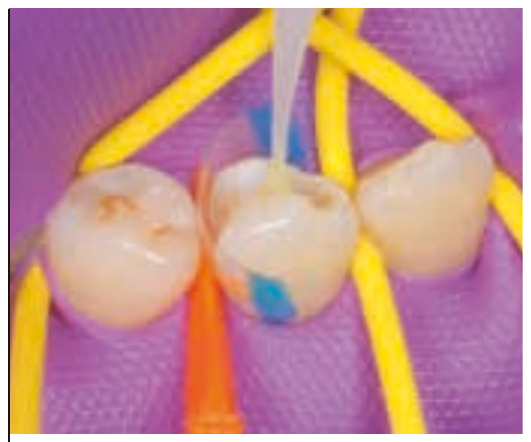
Fig. 3 Bonding was performed using Tokuyama Bond Force II.
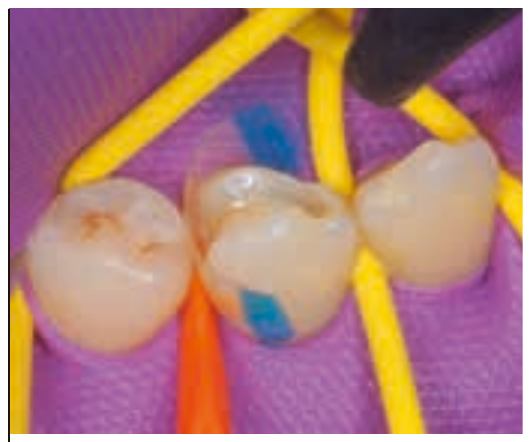
Fig. 4 The surface is dried with medium-pressure air for about five seconds.
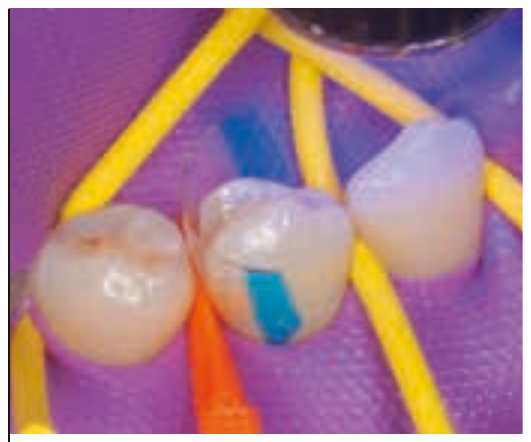
Fig. 5 Light curing is performed for 10 seconds.
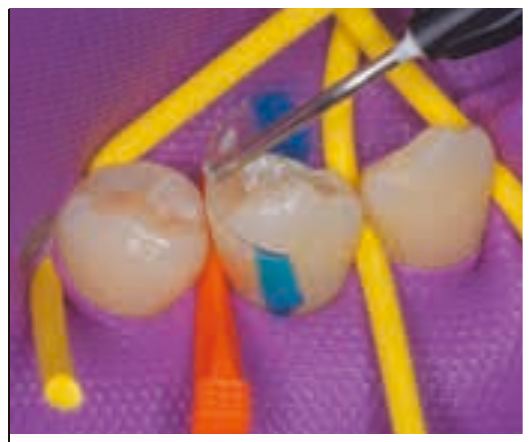
Fig. 6 The proximal surface was filled using ESTELITE UNIVERSAL FLOW High (A2).
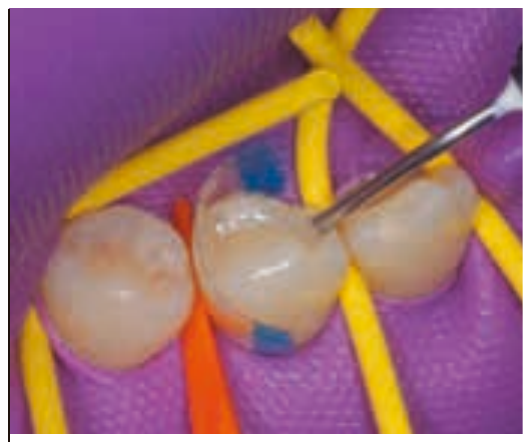
Fig. 7 Since the occlusal cavity was shallow, it was filled with ESTELITE UNIVERSAL FLOW Medium (CE).
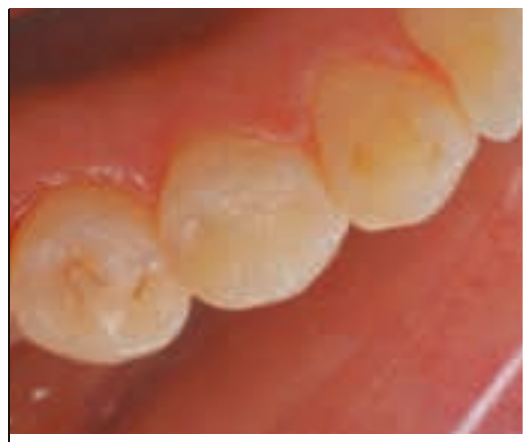
Fig. 8 After contouring and polishing. Excellent shade matching can be seen.
Case 2: Filling the Cervical Region of Anterior Teeth (High, Medium, and Super Low)
The patient presented with a chief complaint of esthetic dissatisfaction with anterior composite resin fillings placed three years earlier. For #11, where the cavity was confined to enamel above the gingival margin, the CE shade of Medium was used. For the cervical area, from the gingival crest to below the gingival margin, the high-chroma A4 shade of Super Low was used, with the A3 shade for the proximal surfaces. Even with flowable resin, using different shades makes natural-looking fillings possible.
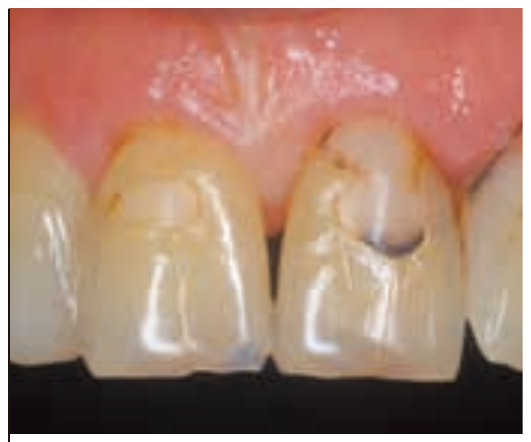
Fig. 1 Preoperative condition. A brown line is visible along the composite resin on #11, and caries on #21 and #22.
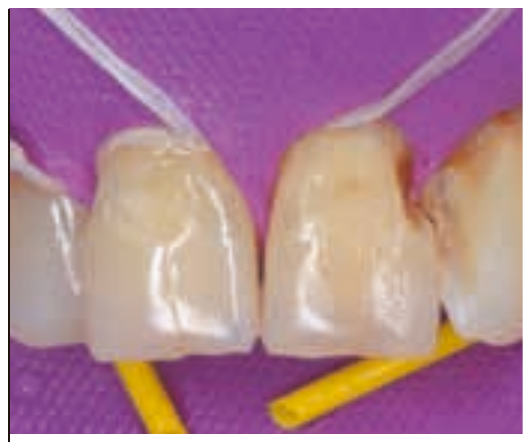
Fig. 2 The existing composite resin and caries were removed.
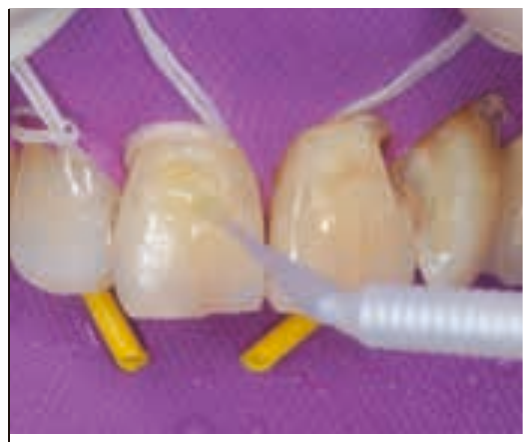
Fig. 3 Tokuyama Bond Force II was applied, then dried and light-cured.
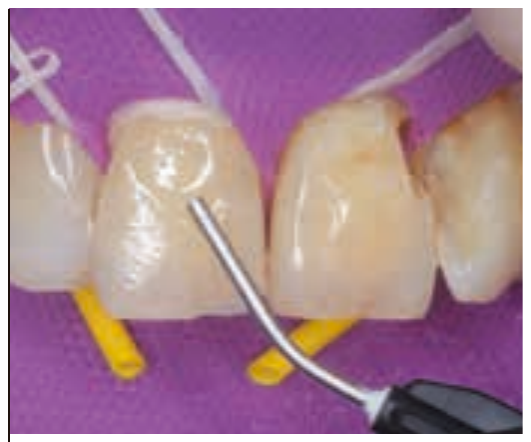
Fig. 4 Since the cavity on #11 was shallow, within enamel, and free of staining, it was filled with ESTELITE UNIVERSAL FLOW Medium (CE).
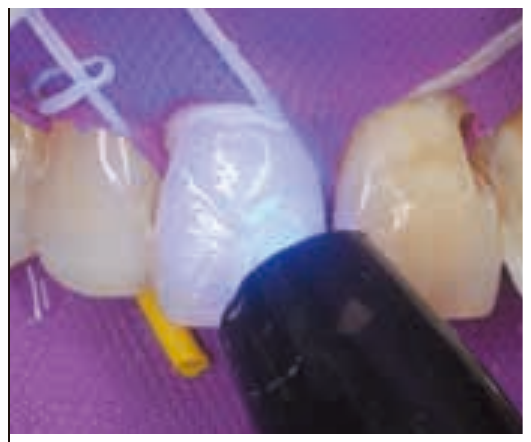
Fig. 5 Light curing is performed for 10 seconds.
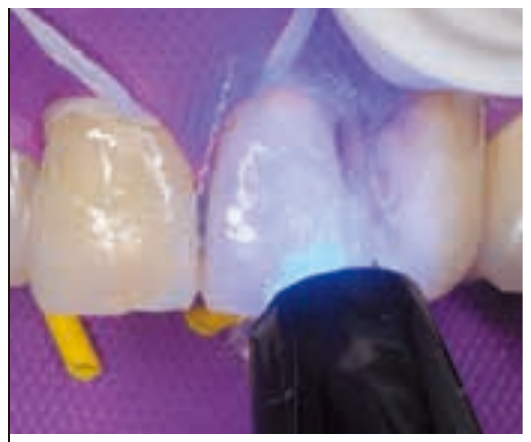
Fig. 6 ESTELITE UNIVERSAL FLOW High (A3) was used on the proximal surfaces between #21 and #22, and ESTELITE UNIVERSAL FLOW Super Low (A4) at the cervical area.
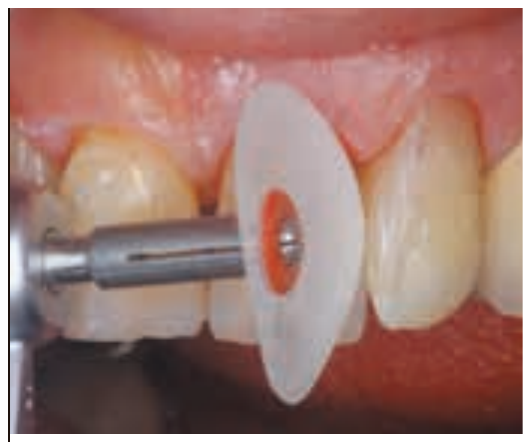
Fig. 7 Contouring is performed with a disc, paying careful attention to the form of the labial line angles.
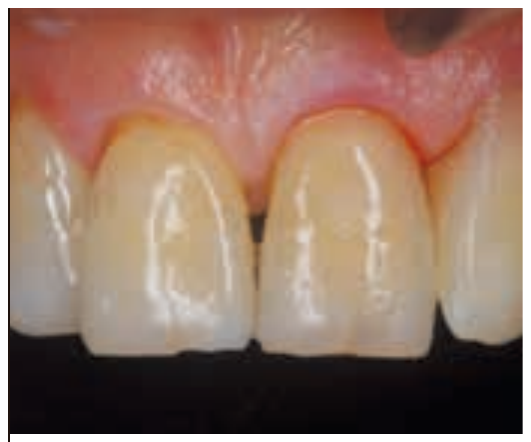
Fig. 8 Immediately postoperative.