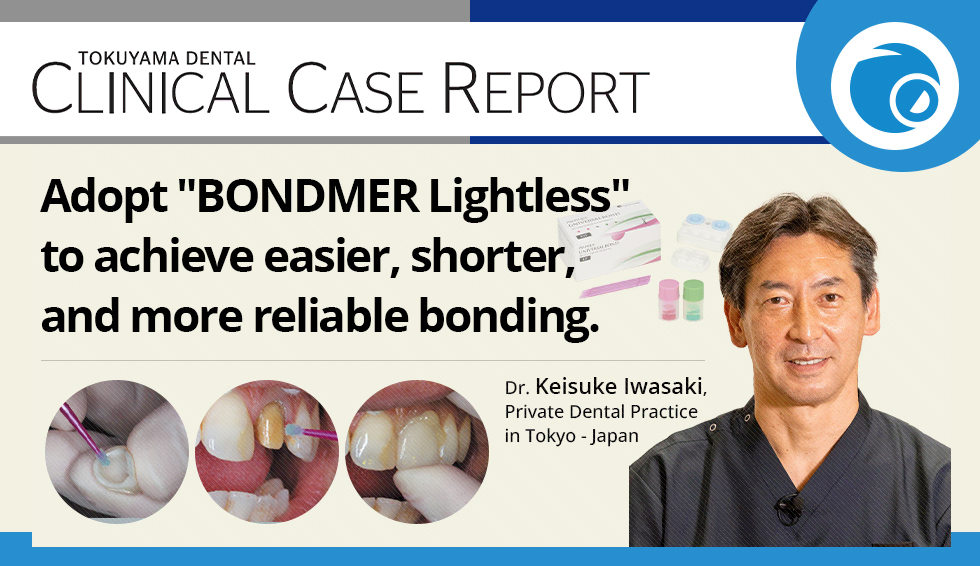
Composite resin restoration is a frequent procedure performed every day in clinical practice. Of the steps involved, the bonding procedure is the one most prone to technical error. Because factors that inhibit bonding such as saliva, blood, and breath moisture are present in the oral cavity, it is preferable for the bonding procedure to be as simple and fast as possible. The recently released BONDMER Lightless can be thought of as an evolution that combines two products with long-standing reputations: TOKUYAMA UNIVERSAL PRIMER, which bonds firmly to metal, porcelain, composite resin, and zirconia-based prosthetics, and the bonding agent ESTELINK. The bonding agent possesses the following features:
- Multi-use, regardless of the bonding surface,
- Simple handling, with zero waiting time after application and no light curing required,
- High bond strength.
This article presents clinical cases involving this multi-purpose product.
Case 1: Composite Resin Filling of a Class I Molar Cavity
45-year-old female. The patient had a metal inlay that was causing sensitivity to sweets and had a poor marginal fit; since she wanted a white replacement, the inlay was removed and the tooth restored with composite resin. A caries detector dye was used to remove secondary decay beneath the inlay, the enamel was selectively etched, and the tooth was then bonded using BONDMER Lightless. This product retains its bond strength even when etching onto dentin, meaning it can be used with confidence even if the etching area ends up larger than intended.
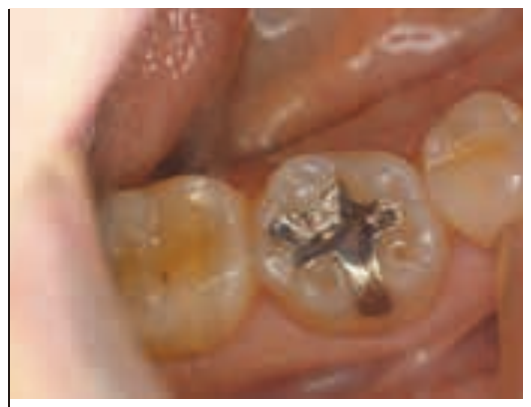
Fig. 1 Preoperative condition
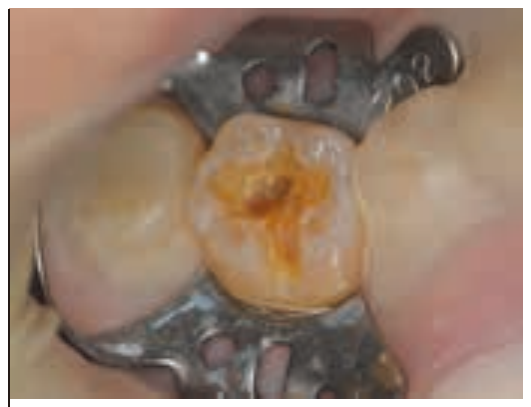
Fig. 2 The inlay and caries have been removed, a rubber dam placed, and the enamel etched.
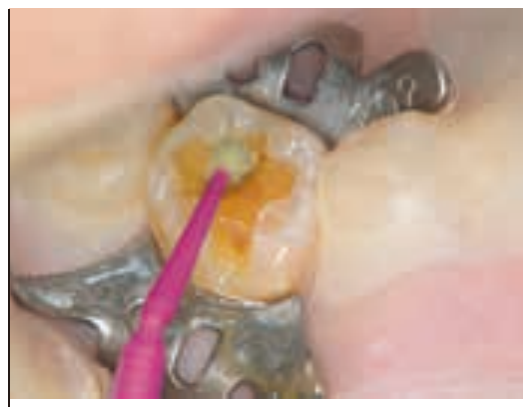
Fig. 3 Applying BONDMER Lightless.
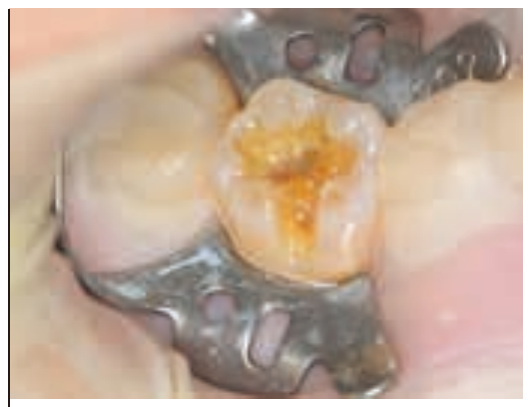
Fig. 4 No waiting time after application, and no light curing needed. The tooth was thoroughly dried for five seconds.
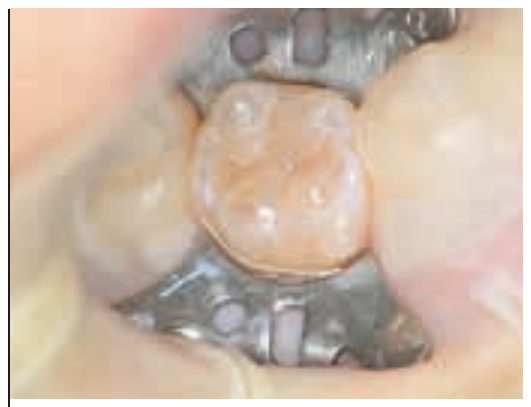
Fig. 5 Since the cavity floor was slightly dark, the first layer was filled with ESTELITE UNIVERSAL FLOW High OPA3 and the second layer with ESTELITE® SIGMA QUICK A2.
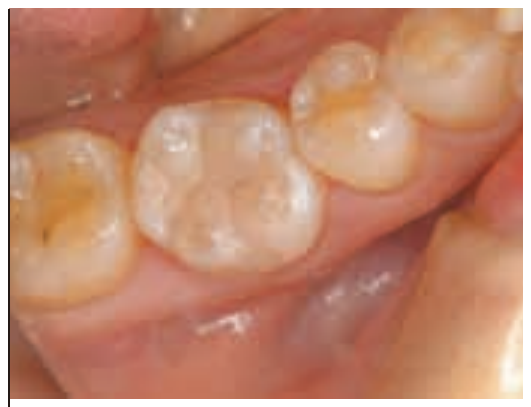
Fig. 6 After occlusal adjustment, the restoration was polished as usual.
Case 2: A Range of Applications for Molars
40-year-old female. The patient had a full metal crown (FMC), but a periapical lesion was found; after root canal treatment, she wanted a less conspicuous restoration, so a zirconia crown was planned. BONDMER Lightless demonstrated versatility in bonding for the fiber post, core buildup, and crown. Being able to perform pretreatment with a single material is extremely convenient and reduces the risk of technical error.
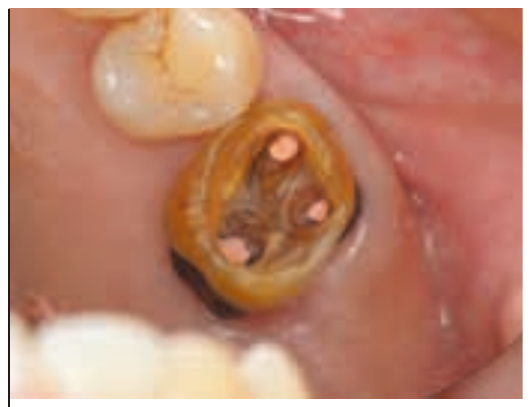
Fig. 1 Condition after root canal filling, immediately before post space preparation
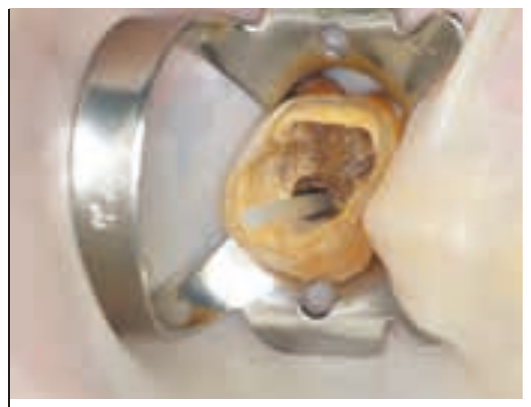
Fig. 2 After rough preparation of the abutment tooth, a post space was prepared in the palatal root and a rubber dam was placed. Trying in a 1.2 mm Tokuyama FR Post.
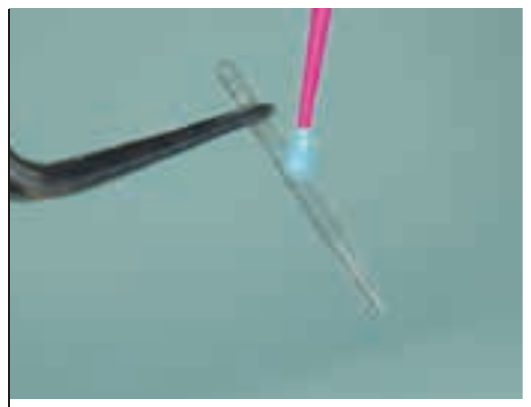
Fig. 3 BONDMER Lightless applied to the Tokuyama FR Post.
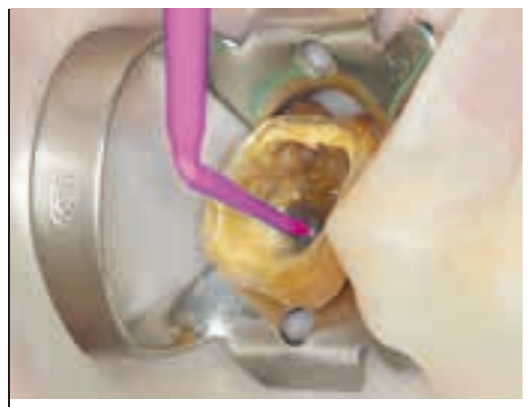
Fig. 4 BONDMER Lightless is also applied to the abutment tooth. Since no light curing is required, there is no risk of cured bonding material pooling in the post space.
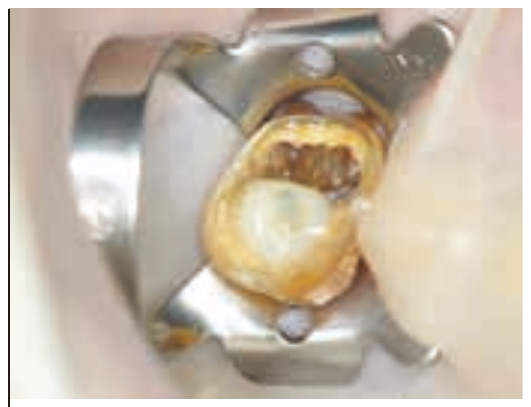
Fig. 5 ESTECORE is injected into the palatal root, the post is inserted, and the material is light-cured.
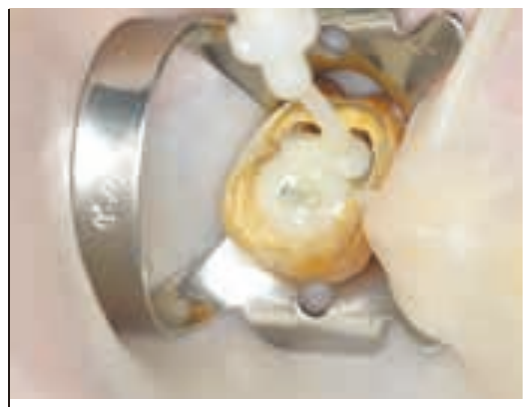
Fig. 6 ESTECORE injected into the buccal root.
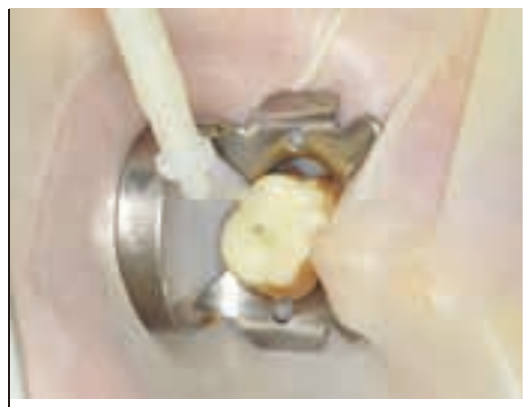
Fig. 7 The abutment tooth is built up with ESTECORE.
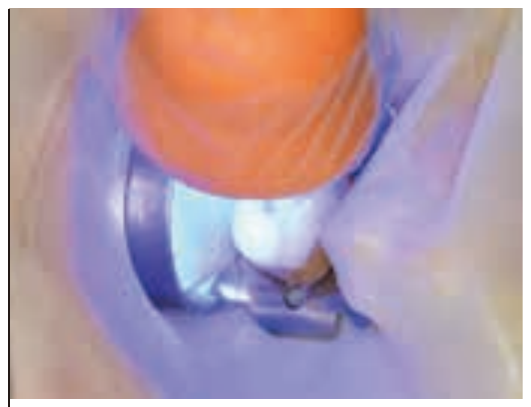
Fig. 8 Light curing in progress.
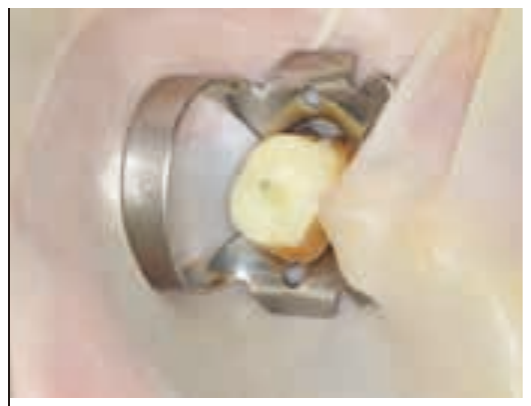
Fig. 9 Core buildup complete.
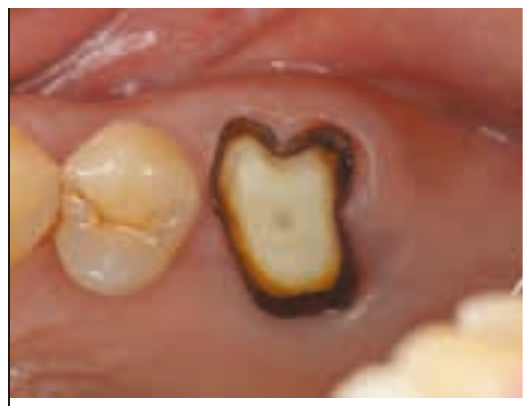
Fig. 10 After completion of abutment tooth preparation, an impression is taken as usual and the zirconia crown is fabricated.
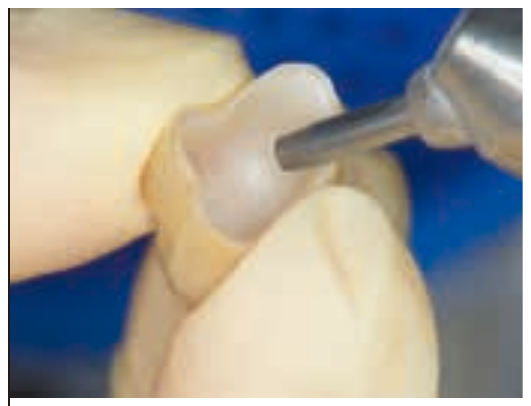
Fig. 11 After occlusal adjustment and polishing of the zirconia crown, the intaglio surface is sandblasted.
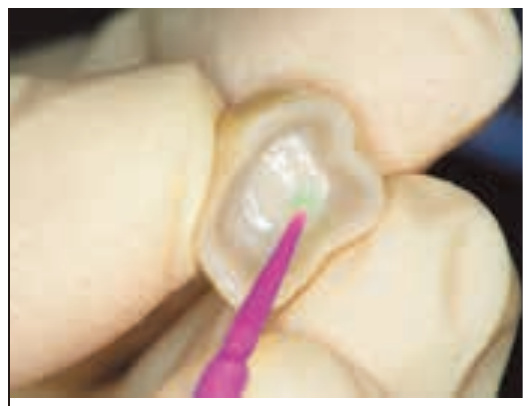
Fig. 12 Applying BONDMER Lightless to the intaglio surface. Varying the brush size to suit the surface being treated improves handling.
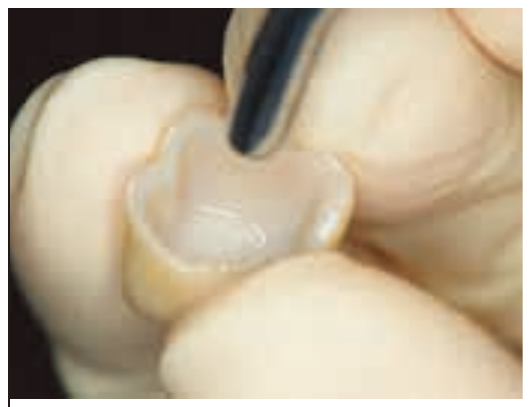
Fig. 13 Air-dried after application.
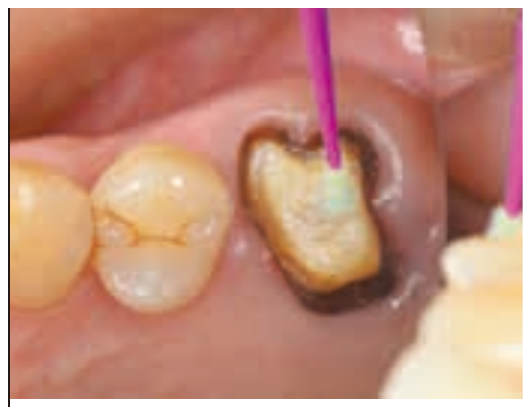
Fig. 14 BONDMER Lightless is also applied to the abutment tooth.
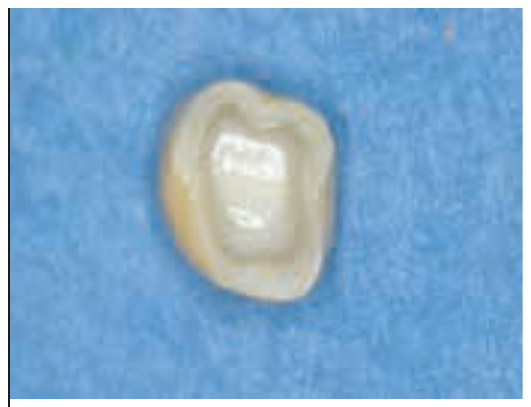
Fig. 15 The crown’s intaglio surface develops a glossy sheen just before bonding.
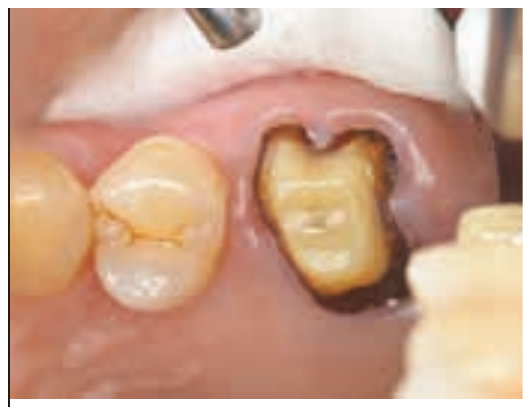
Fig. 16 The abutment tooth develops the same sheen once dried.
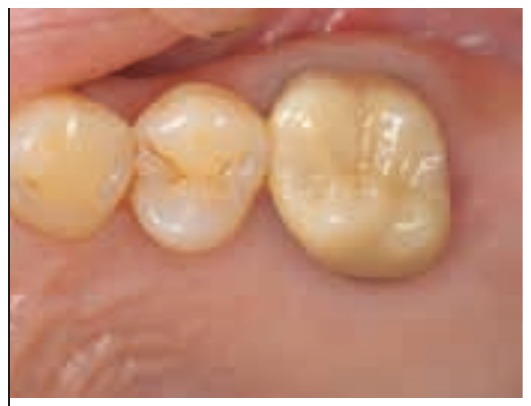
Fig. 17 The zirconia crown seated.
Case 3: Repair of a Damaged Resin-Veneered Metal Crown
74-year-old female. The patient presented after breaking a front tooth while biting into a chicken bone. The hard resin facing had chipped, exposing part of the metal underneath. In cases like this, BONDMER Lightless’s versatility, unrestricted by the type of surface being bonded, is fully demonstrated. In recent years, dental chair lights have increasingly shifted to LED. With bonding agents that require light curing, curing can begin prematurely unless the LED intensity is lowered, but this product needs no such precaution, which makes it convenient.
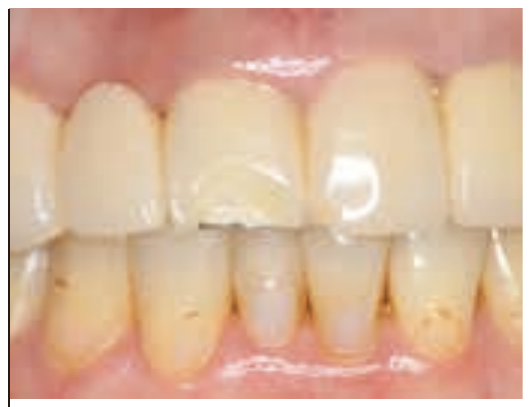
Fig. 1 Preoperative condition. The hard resin at the incisal edge has chipped, exposing part of the metal.
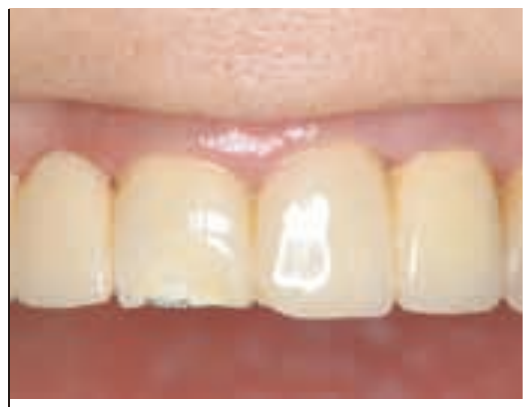
Fig. 2 A diamond bur exposes a fresh surface, and a bevel is added to help the shade blend more naturally.
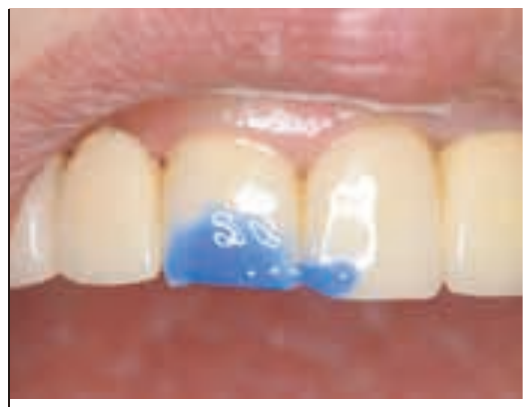
Fig. 3 The surface to be restored is etched.
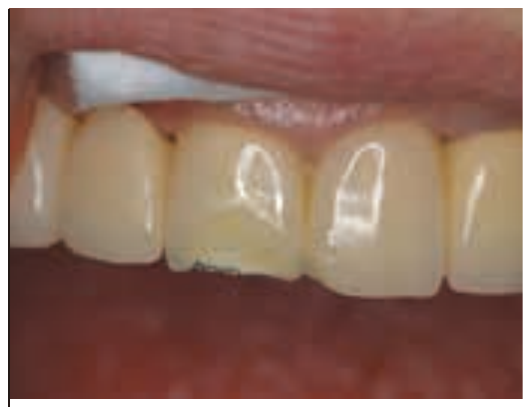
Fig. 4 BONDMER Lightless is applied.
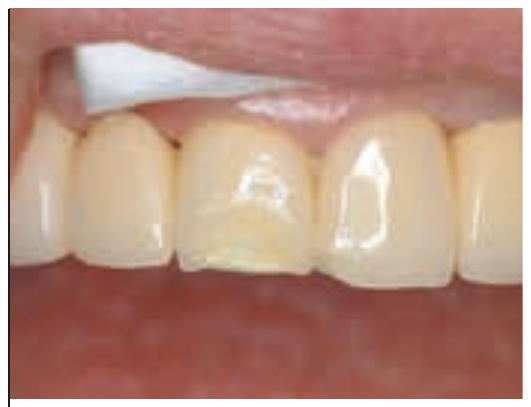
Fig. 5 ESTELITE LV Opaquer applied to the exposed metal surface. This blocks out the metal color.
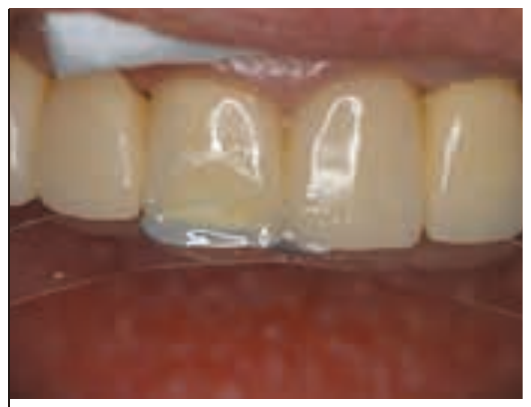
Fig. 6 The lingual surface is built up with ESTELITE UNIVERSAL FLOW Medium OPA3.
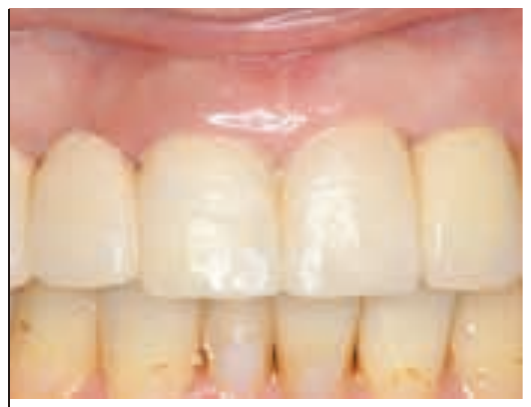
Fig. 7 The labial surface filled with ESTELITE® SIGMA QUICK A2, with rough polishing completed.
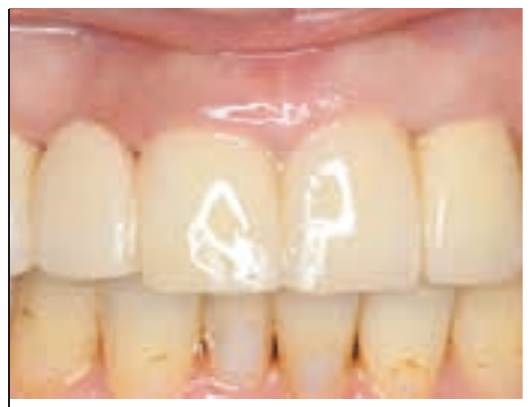
Fig. 8 Final polishing completed as usual.